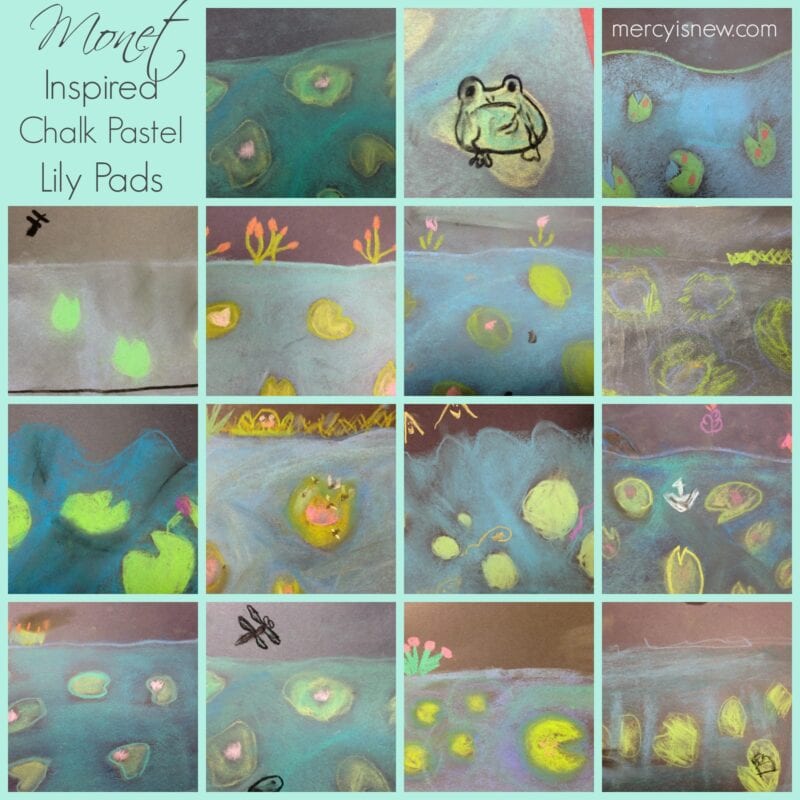
Supplies Needed: Black Construction Paper + Chalk Pastels
These pond and lily pads turned out so beautifully! The chalk pastels are really so very different from oil pastels! I love letting the kids experiment with BOTH mediums!! Chalk pastels BLEND and spread so much more so than oil pastels. You can use your fingers to smear and have a whole different look with the chalk pastels!
Instructions
- Draw a blue line towards the top of your paper for the water line.
- Draw several green lily pads under the water line, shade in with green chalk pastel.
- Add pink blooms if you wish.
- Color/Shade in all the lily pads, blooms and leaves with green/pink.
- After your lily pads are colored in, SHADE the water area AROUND the lily pads, don’t color right on top of the lily pads or they will disappear with the chalk pastels!!
- Shade the water area with various shades of blue to give it texture and depth.
- Add dragon flies, frogs, cattails, anything you like to your picture!!
- Be sure to show children how to smear with your finger or fist to see how smooth and blended you can get it to be!
- Check out Tricia’s link, she has a PDF page of instructions for how to draw the dragon fly and frogs, etc. I printed off that page and placed one sheet on each table for children to use.
- I like to spray chalk pastel work with aerosol hair spray to get it to hopefully stay a little bit longer!
This project was inspired by Tricia’s Lily Pads over at Hodge Podge!
Click the photo below to see all of the series: Teaching Art {With the Help of Pinterest}
One of my favorite tools for teaching art is Tricia’s Simple Chalk Pastel Tutorials! Find them here!
{Make sure to give your kids plenty of brain breaks throughout your homeschool day! Check out this ebook chock full of ideas!}